Computing
Viewed products
-

How to build a computer Part 1
To assemble a computer part by part...
 View larger
How to build a computer Part 1
To assemble a computer part by part is actually simpler than it looks like. You only have to follow basic rules.
More info
Let’s assemble a PC beginning from zero and illustrating the steps we are explaining.
In this example, the assembly is done with determined components, and the steps we are enumerating here are to be followed orderly so as not to commit a mistake and so that everything could work properly.
We’ll start with choosing the parts for our computer, keeping in mind that all the parts we buy must be compatible. Firstly, we have to choose the components.
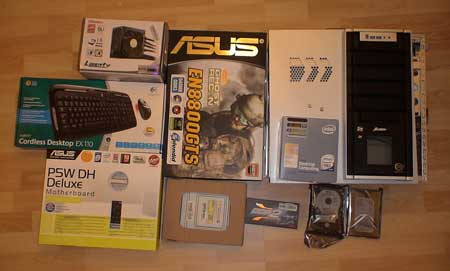
The computer we are going to assemble is made of the following parts:
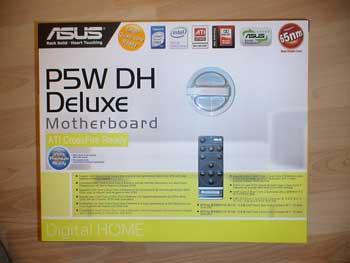
Motherboard: Asus P5W DH Deluxe.
Processor: Intel Core2 dúo E6700.
Memory: 2x Geil 1 GB dual channel.
Graphic: Asus EN8800GTS.
Hard drive: Western Digital raptor WD740ADFD.
Power supply: Enermax Liberty 620 W.
DVD: Samsung SH-203P.
Box: Thermaltake Matrix VX.
Keyboard and mouse: Logitech Cordless Desktop EX110
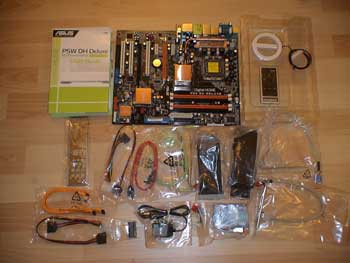
Let’s have a look at our components.
The first thing to do is to... Take off our shoes. Shoes, trainers, or slippers, whatever we have put on.
The reason is quite simple, we shouldn’t have static electricity, because, if we touch a component with our fingers we can damage it without wanting to and give it a small electrostatic discharge which can render it useless.
When we are removing our shoes, we aren’t separated from the floor and we discharge the electricity we can bring through our feet. Another advice: always touch the metallic computer box before grabbing a component.
Ok, we begin by opening the box on the side and checking its contents.
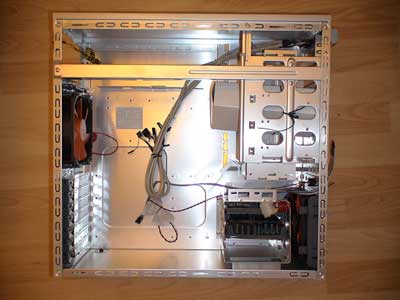
In our case, there are cables prepared to be connected to the motherboard (usb, firewire and audio frontal connections), “on” button connectors, reset, the corresponding luminous indicator, the two fan connector which are in the box and the fasteners to attach the motherboard to the bottom of the box.
There are also some components which will allow us a screwless assembly of the hard disc and DVD.
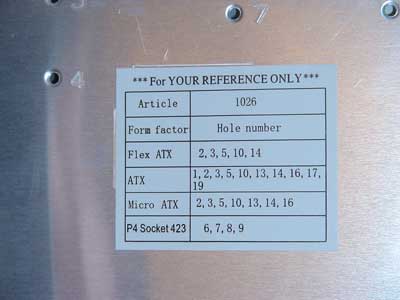
We remove the last ones and we look at the screws that we have to put depending on the format of our motherboard.
In our case, it’s an ATX panel, and we shall have to place the screws in those holes.
In this case, ATX corresponds with the holes numbered 1,2,3,5,10,13,14,16,17,19.
We use the pliers to tighten all of the threads that fasten the screws.
Once all the threads are placed we open the box which contains the motherboard.
The quantity of the accessories that this Asus has fascinating.
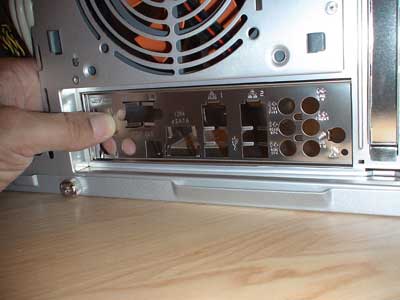
The first thing we’re going to do is to put the back board with the connections in the box.
We press it a little with our fingers until it’s adjusted and in its place.
Now we pull out the motherboard from its antistatic bag, trying not to touch the parts, grabbing it on the sides.
We put it into the box and then we’ll see how the threads we had placed in there coincide perfectly.
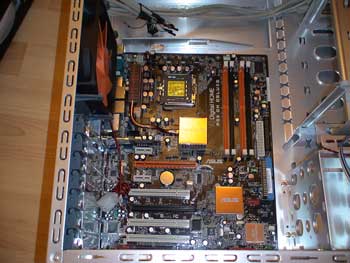
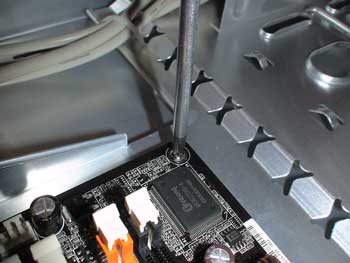
We tighten the screws with the screwdriver perpendicular to the screw. Careful with the screwdriver, if it slips, it can damage a part or a motherboard component.
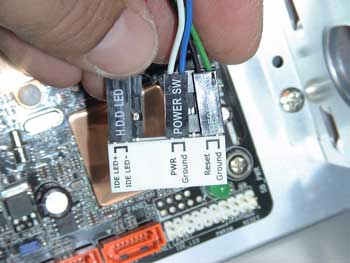
Once we have fastened the motherboard to the box, we start placing the connections Power SW (on), Reset, Hdd led, Power led and Speaker. This is especially easy to do in Asus motherboard, since they have a small adapter and we simply put on what we see it’s printed on it.
We have to pay attention to the hard disc led and power led polarity, if not, they won’t turn on. It doesn’t matter for Power SW, Reset, and the speakers.
Now we place other frontal connections, in our case, two USBs and the Firewire port. It’s impossible to make a mistake since the connector only enters one position.
A detail of the Firewire port connection.
Lastly, we shall place in the motherboard the connections that correspond to the audio connections of the front part of the box; they are individual PINS which correspond to the micro entrance and the line out.
In some boxes there is also an auxiliary entrance.
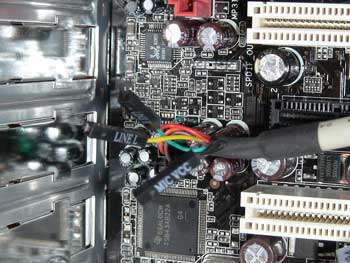
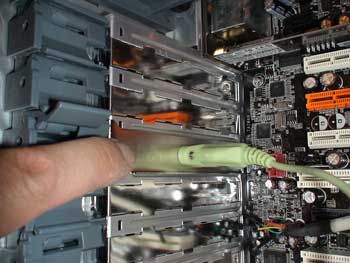
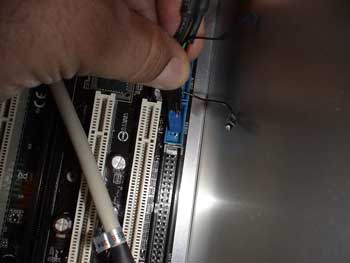
Now we’ll connect an accessory which this base panel has to the back panel of the box.
It’s an audio connector. The collocation system is screwless. Each manufacturer invents a special mechanism so that the connections (in this case the back ones) remain fixed to the box.
This Thermaltake is quite good, simple and it fastens the components fairly well.
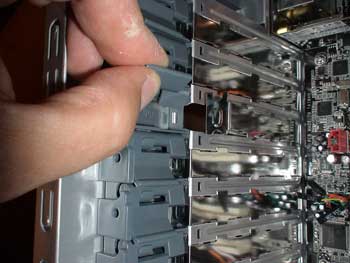
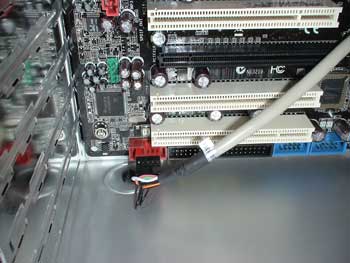
A detail of the assembly of the auxiliary audio connection of the motherboard.