Computing
Viewed products
-

How to build a computer Part 2
Once we connect everything between...
 View larger
How to build a computer Part 2
Once we connect everything between the box connectors and the motherboard, we have to place DVD and hard drive.
More info
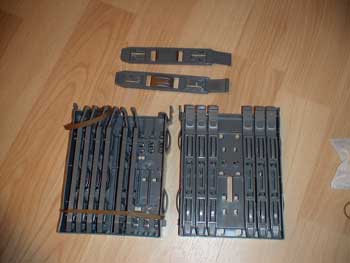
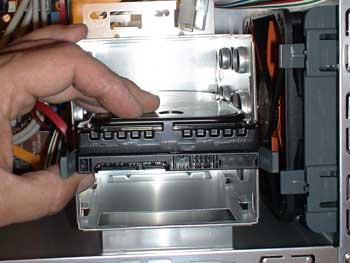
We begin by pulling out the accessories which are in the box, to assemble the without a screwdriver.We can see the accessories in the photo.
They exist for 3,5 and 5,25 bays.
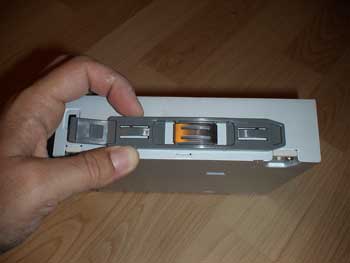
We place an adapter on the side of the DVD, which will put it where it should be. If we have various units to place, we have to think about which one of them we are going to be using the most, to put it on the highest position in the box, this will make out access to the disc easier when we are working.
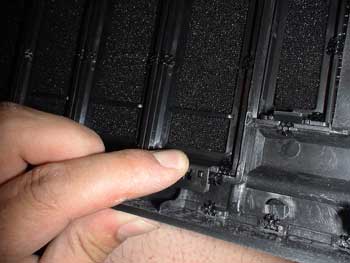
To place a DVD, it obligatory to remove the frontal cover of the box and facilitate the collocation of DVD. On the other hand, the accessory’s behaviour for its collocation is impeccable.
It remains perfectly fixed in place.
We have to remove the part through which the DVD will show on the frontal part of the box.
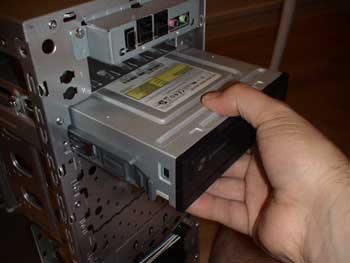
The DVD in its place. In our case, since it’s the only DVD, we’ll place it in the highest part of the box so that we can access it easier.
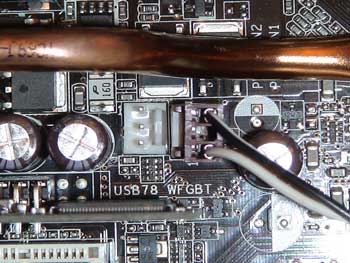
Now, we want to emphasize which collocations of the USB ports, Firewire, micro in and the line out seem like the most logical ones in a box. Normally, the box is placed vertically on the floor, and that is why it’s most adequate to connect a pen drive, at the highest part, closer to us, and not at the lowest part close to the floor.

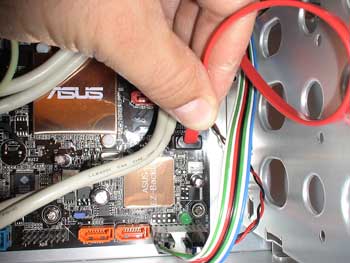
Now we are connecting the SATA cable that goes from DVD to motherboard. We first connect the DVD extremes and other extremes on the motherboard. We connect it to the channel SATA 2 of the motherboard.
The SATA 1 is for the hard drive.
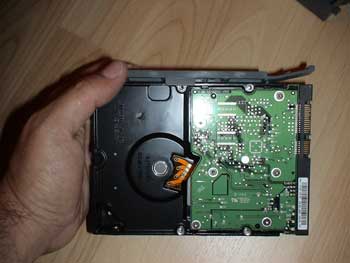
Now we are placing a hard drive.
In the photo: our hard drive raptor, seen from below, with an accessory placed on one of its lateral sides to be fixed in the box.
When we situate the hard drive we have to pay attention to where the fan (if the computer has it) is placed in the box.
We have to place it in the centre of the fan so that the air blows at the disc from above and from below.
If the box has no fan, it’s advisable to put one inside, even a low revolution one, so that it cools the disc a bit, and at the same time places fresh air from the outside.
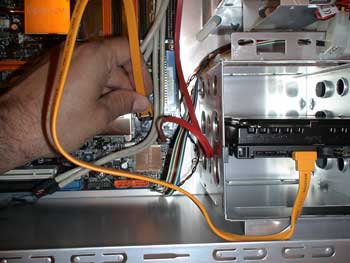
Now we connect a SATA data cable from the hard drive to the motherboard.
We place it at SATA 1 channel at the motherboard.
Without a doubt, the power supply was what surprised us the most pleasantly.
A case which contains the power cables from this source Enermax Liberty. Excellent!
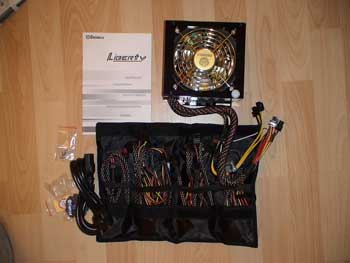
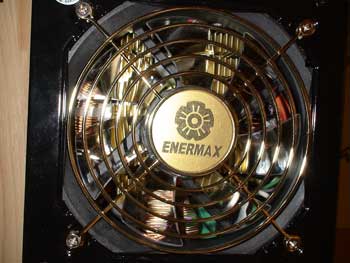
A great quality of components, it’s a pleasure to see them.
It goes without saying that such quality doesn’t come cheap, and that is also the case with these power supplys. But in the end, it’s always a good investment to buy a quality power supply.
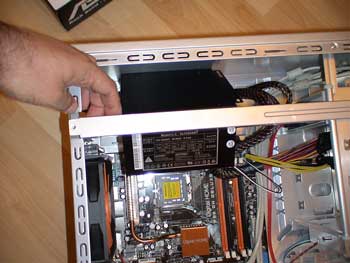
We put the power supply in its place. In our case, we had to remove a small sheet which reinforced the box.
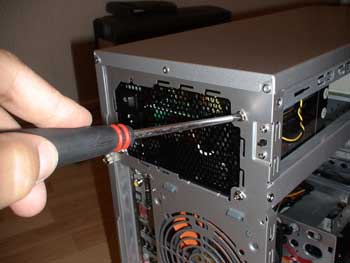
We press strongly the four screws that fasten the power supply to the box.
A detail of the collocation of the power supply in the box interior. The fan placed towards the bottom will expulse the hot air that comes from the processor and at the same time will cool the power supply components.
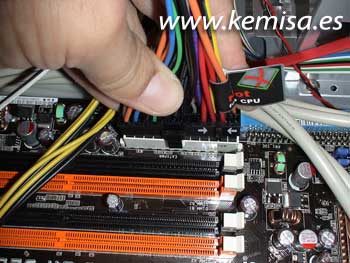
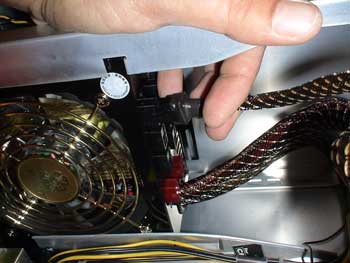
We place the principal alimentation onto the motherboard, along with the standard connector for the ATX sources. Our panel also needs an additional 4 PIN alimentation which comes perfectly printed on the connector.
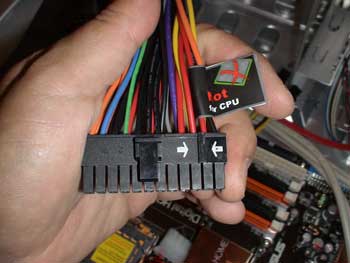
We put the connector on the motherboard and we press until we place the write protection tab above the small exit which the panel’s male connector has. Therefore, if we pull it up, the connector won’t come out.
The CPU power is not lost, it’s marked as such.
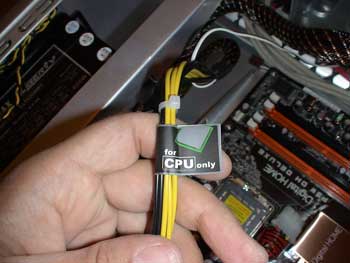
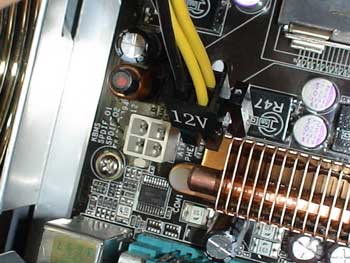
We connect it to a 4 PIN connector which is near the processor.
We connect to a motherboard’s 3 PIN molex the monitor of the power supply fan to see its rotation speed. It’s 1000 r.p.m. almost always.
At this speed, the fan is almost inaudible.
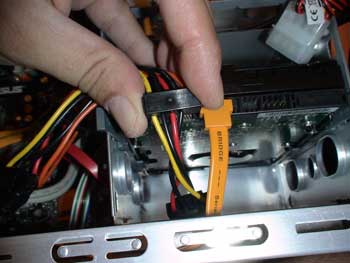
Now it’s time for the power connections. We begin by putting the modular cable in the power supply pressing until the flange enters its place.
Then we place another extreme to the SATA connection of our hard drive power. We try to put the cables as close to the box floor so that they don’t bother us.
Now we place another power cable into the other source connector.
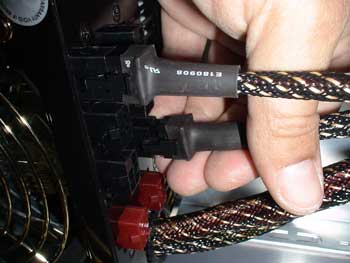
And another extreme of the cable in the DVD power.
