Computing
Viewed products
-

How to build a computer Part 3
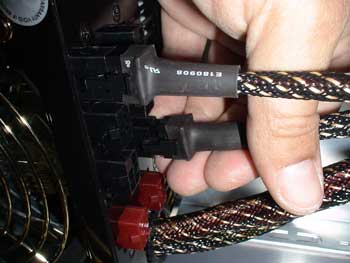
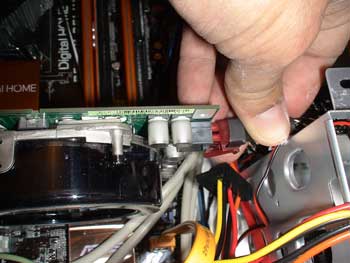
The third power cable is the one...
 View larger
How to build a computer Part 3
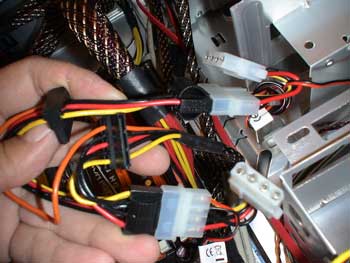
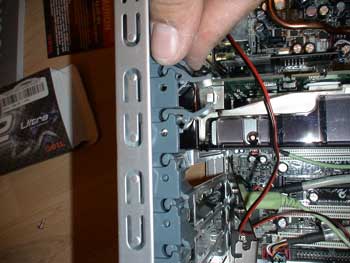
The third power cable is the one that’ll be connected to the fans. In our case, one in the front and another in the back part of the box.
More info
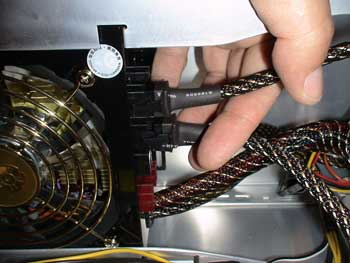
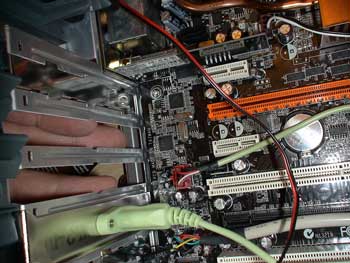
We connect them to two molex connectors which have box fans.
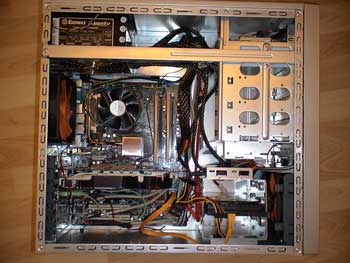
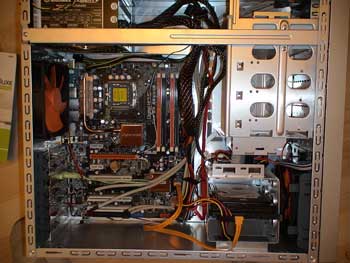
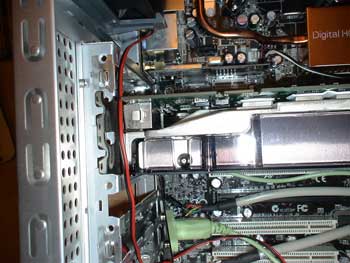
This is how our computer looks like at this point.
Not much is left to be done.
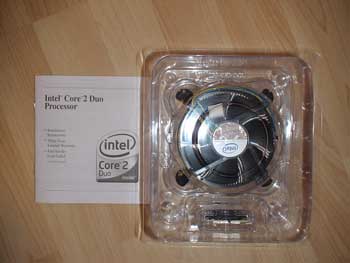
Now is the time for the processor.
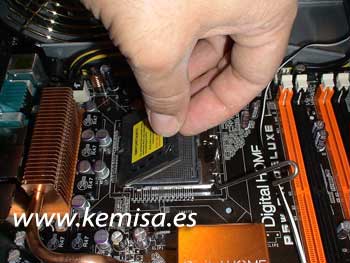
We lift the socket lid and we remove the plastic protection that covers the connections.
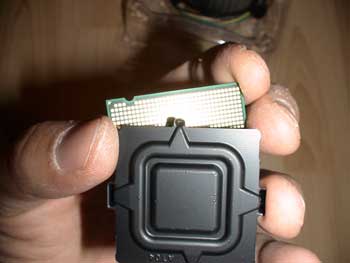
We remove the plastic lid which covers the processor connections carefully, so as not to touch them. To do this, we take the processor sideways.
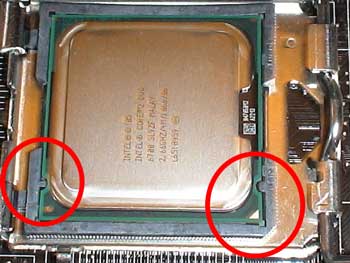
We place the processor in the socket, paying attention to the little arrow marked in one of the corners and lateral slots, so that they coincide with the socket ones.
We lower the socket lever which fixes the processor in its place.

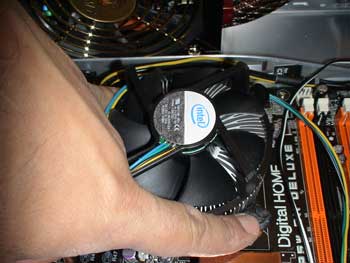
We place the fan above the processor and place the four fixations in the four motherboard orifices.

We press the fixations downwards until we hear a “click” sound. We first do it with the two opposite fixations, and then with the other two.
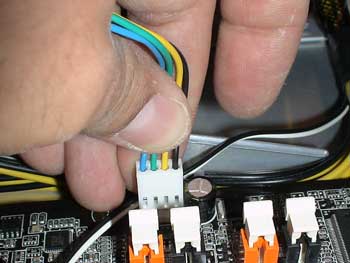
We connect the 4 PIN molex to the “CPU fan” of the motherboard. The fan and the panel have 4 PINS, which means they both support the PWM regulation, that is, the pulse-width modulation.
This regulation is more precise that the one used up till now, direct current regulation.
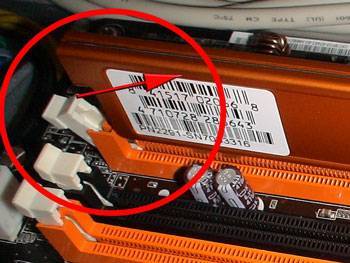
The memory kits will be placed paying special attention to the small fissure they have towards the centre.
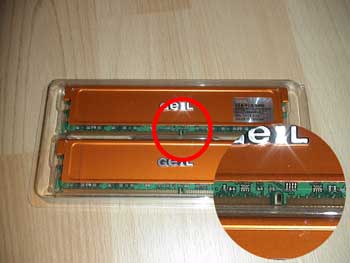
The fissure coincides with the socket slot of the motherboard. Since the memory kits will function in dual channel, they are supposed to be placed at the same colour sides.
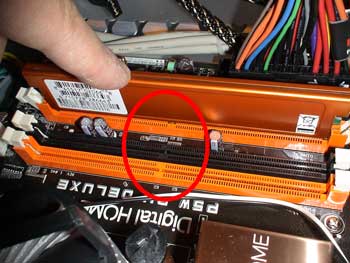
We choose the orange sides since they are the closest to the processor fan.
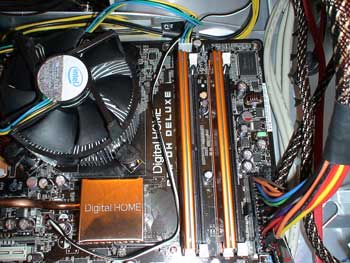
We press the centre of the memory kits downwards and we place the white staples which are fixated on the memory kit edges. These staples are to be closed when in contact with memory kits.
There is a way to check if they are properly situated: we pull a bit upwards and check that they are still in their place.
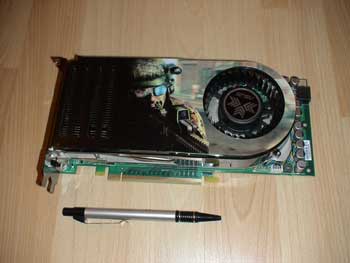
The aspect of this graphic card is fascinating, viewed from the front...
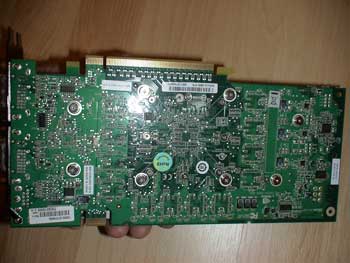
...and from the back. It’s like another “computer” inside our computer.
The graphic card occupies two bays in the back part of the box.
We had to dismount the “screwless” accessory to situate the graphic card in its place.
Then we assemble the “screwless” again and now we push downwards the fixation of the graphic card.
We connect the graphic cards power cable (PCI Express) to the power supply, paying attention to put it in the red connector, which is the specific one for the graphic cards.
On another extreme we connect the cable to the graphic card’s source. We always have to check that the cable is fixated and that it doesn’t come out if we pull it outwards.
This is the final aspect of our assembled computer. Before we put the lid on, we have to turn it on and make sure that all fans are functioning properly.
The processor fan, the power supply fan, the graphic card fan and the two ones which are in the box.